 For Java developers, Eclipse is a convenient tool to develop software in broad range of programming languages. This tip is intended to help fellow developers who never use Eclipse before but are eager to start developing applications using Eclipse IDE.
Even though Eclipse is cross-platform, there is no guarantee that the tip provided in this post will also work for version of software and environment other than ones described below:
- OS: Windows
- Eclipse version: Eclipse 3.5 Galileo
- JDK version: Java EE 6 SDK
Before we proceed with the configuration, you should have downloaded Eclipse from its homepage. If you haven’t installed Java EE SDK, you also need to download the JDK from Sun’s Java download page (make sure you download JDK with Java EE package). Eclipse requires JDK to run. It is advised to install Java EE SDK before extracting the zip file of Eclipse.
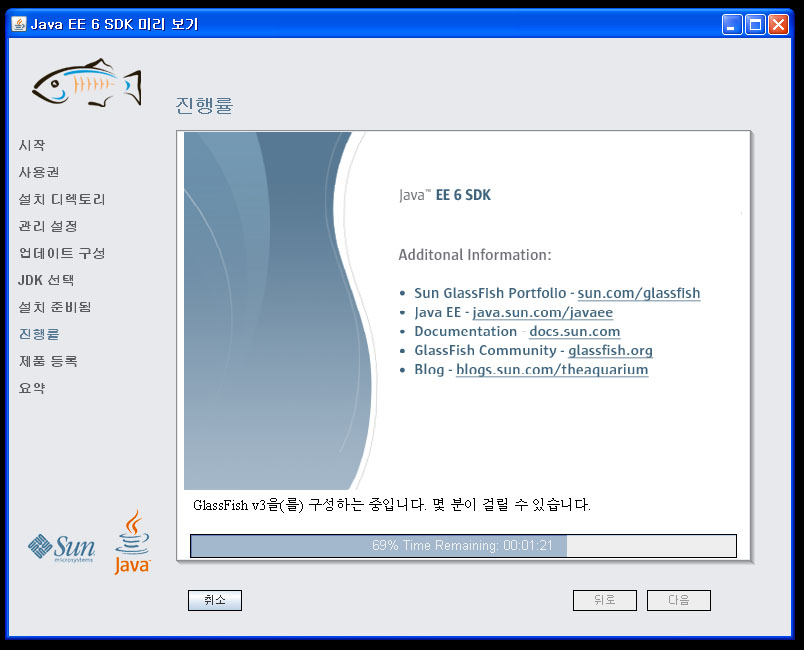
Java EE SDK installation is straightforward. You will be provided a standard wizard and you can simply go through all the steps. In the following picture, you can see the wizard is installing Glassfish web container in the disk (the installer is in Korean, though). One thing you should pay attention to is the port number of the default web server shipped along with the JDK. If you plan to use another web container like Tomcat while working with Eclipse, it is better to avoid using port number 8080 as the default web server port. Otherwise, you will be busy starting and stopping service of each web server.
After finishing the JDK installation, you can now extract the Eclipse zip file. Put the extracted file in any arbitrary folder of your choice. For the sake of convenience, you may put a shortcut to eclipse.exe on the Desktop.
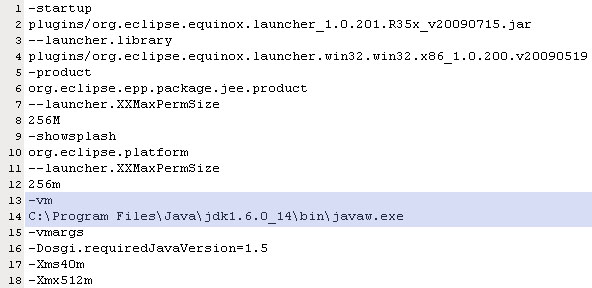
Now, we will go to the main part of the tip. Before launching eclipse executable, we should add the path to Java EE JDK in the configuration file. To do so, open eclipse.ini and add line 13 and 14 in the following picture into the file. But please be careful. You may have installed different version of JDK thus some alteration to the text provided in the picture can be deemed necessary. You should ensure that the path to javaw.exe in the JDK is correct.
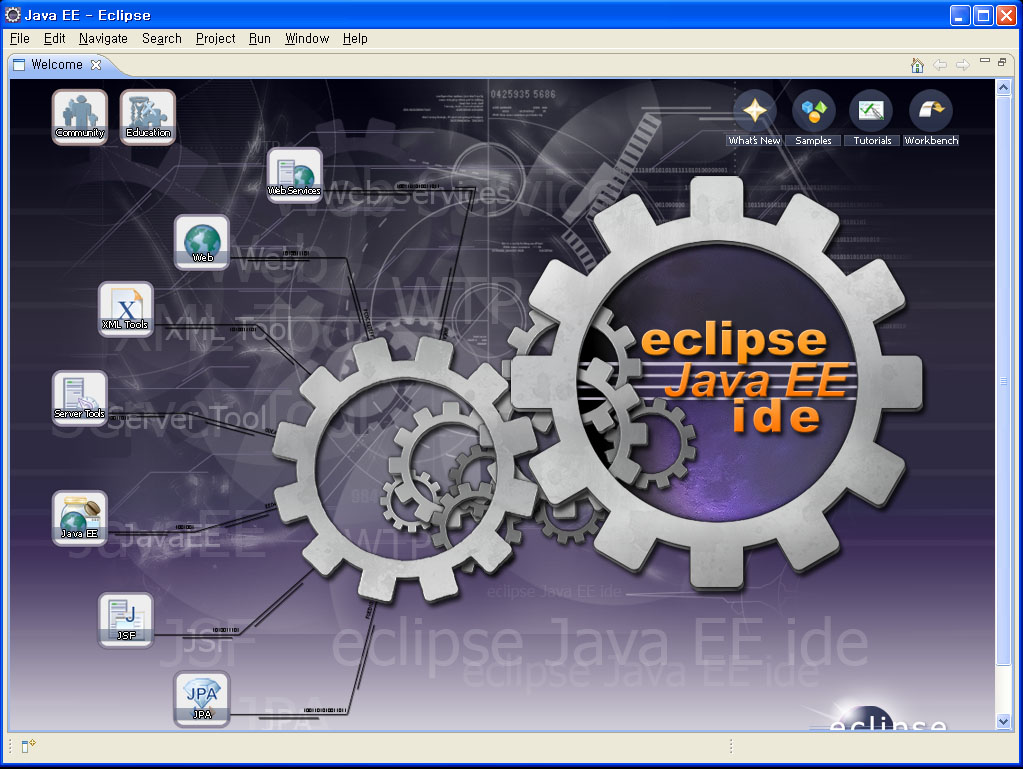
After saving the modification, click eclipse.exe or the shortcut. Voila! You are now ready to create your first software project using Eclipse.


